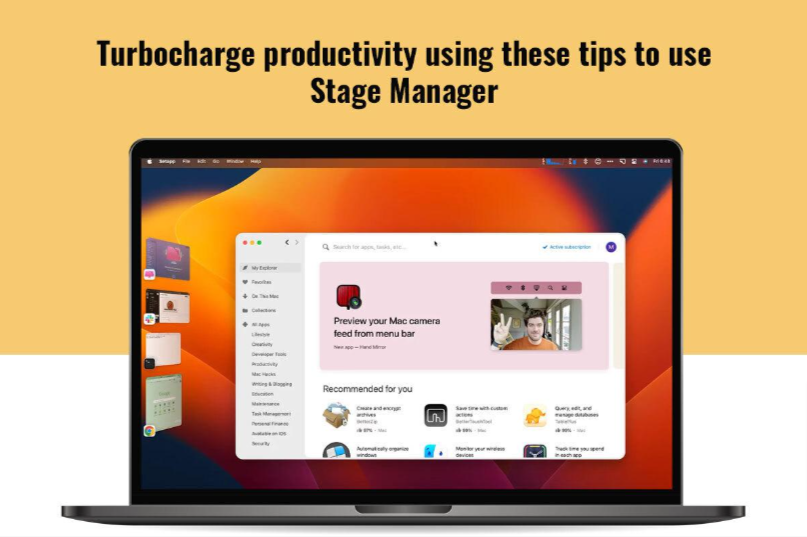
Introduced in macOS Ventura, Stage Manager is an exceptional feature that helps organize app windows and makes it easy to switch between open apps. The feature not only boosts productivity but also makes the digital workspace a little less chaotic.
To use macOS Stage Manager, you must upgrade your system to run macOS Ventura or higher. Click Apple Menu > About This Mac to check which version is currently running and then accordingly look for updates if required.
Now, let’s look at some helpful tips and tricks that will help you make the most of this feature.
Enable or Disable Stage Manager
Most of the time, Stage Manager comes in handy, but there might be times when you find it is better to have the feature disabled. The feature can be easily toggled on and off from the Control Center.
Click on the Control Center icon in the menu bar > use the Stage Manager toggle to enable or disable the feature.
If the icon is highlighted, it means the feature is turned on. If you want to disable the feature, simply follow the same steps and ensure the icon is not highlighted.
You can even customize the Control Center to access Stage Manager directly from the menu bar instead of digging around System Settings/System Preferences.
Learn Keyboard Shortcuts to Use Stage Manager
Shortcuts make everything easy! Don’t they?
Fortunately, you can memorize some handy keyboard shortcuts when using Stage Manager.
The shortcut for switching between the windows of the applications you are using is pressing the character key to the left of the number one on the keyboard and the Command key simultaneously. Then, click the app’s thumbnail to switch the window.
Suppose you want to switch between the active apps, press Command + Tab. This will help you switch between the currently opened app and the previously opened app. If you want to be able to choose the app you want to use, keep pressing and holding the Command + Tab button.
Resize or Move the Center Window
Do you want to resize or move the center window? You can do this by dragging the title bar or the edge of the window.
Create App Groups
When you are working with multiple applications, it can quickly become overwhelming and chaotic. You can organize things by creating app groups. These groups can contain applications you use frequently or regularly. They can all be put together in a group.
This will save you from having to constantly open and minimize windows. These groups can be made for different workflows. You can switch between them without a fuss. This is going to enhance your productivity by saving a lot of time.
You can create an application group by opening two apps and dragging the second one from the thumbnail strip to the desktop. Then, open another application.
You will notice that the first two apps have been paired in the thumbnail strip. This will allow you to quickly switch between them and other apps with a simple click on the group.
Do you wish to unpair applications? You can close the apps in the group to unpair them.
It is also possible to group more than two applications. For this, you must have all the apps open on your desktop.
Hide the Thumbnail
Thumbnails are extremely helpful. They offer previews of what content you can expect when you open an app or a folder. However, thumbnails can take up a lot of screen real estate, and they can also become a source of distraction.
Hence, it might help to disable thumbnails when you don’t want to be distracted or need more screen space. The thumbnail strip can be disabled in System Settings.
Set Stage Manager to Show Desktop items or Recent Apps
Stage Manager cannot be customized a whole lot. But there are a few tweaks you can make to make this feature work in your favor. For example, you can have Stage Manager show you all the recent applications that you have used, along with the items on your desktop.
You can enable these options for Stage Manager by opening System Settings > clicking Desktop & Dock > navigating to Stage Manager and clicking Customize > enabling the Recent Applications and Desktop Items option.
Once enabled, you will see all the recent apps appearing in the thumbnail strip. Also, you can see desktop items like folders and documents.
Summing Up
That’s it! These are some tips and tricks you must learn and implement to use Stage Manager to its full potential so it can boost your productivity. When it comes to maintaining an organized digital workspace and staying efficient, Stage Manager is one of the many valuable tools built with macOS.
Stage Manager is also available for iPadOS and iOS. So you can stay productive on the go!
